Tuesday, June 25, 2013

Washi Tape Kids Class


Yay! It's another fun Kids Class to put on your schedule.  
If you live locally, come join me on Wednesday July 3rd at 10:30 am to craft a cute bracelet.  
We'll use jumbo craft sticks, some string, and dig into our Washi tape stash to style up some sweet bracelets for a summer fashion statement.  
The class will be at our awesome local scrapbook store, Scrapdoodles.  Call the store to register!

Check out Mama Miss for her original Washi Tape Bracelet post as well as other popsicle stick bracelet inspiration HERE and HERE.

Friday, June 21, 2013

Wedding and Shower Cards

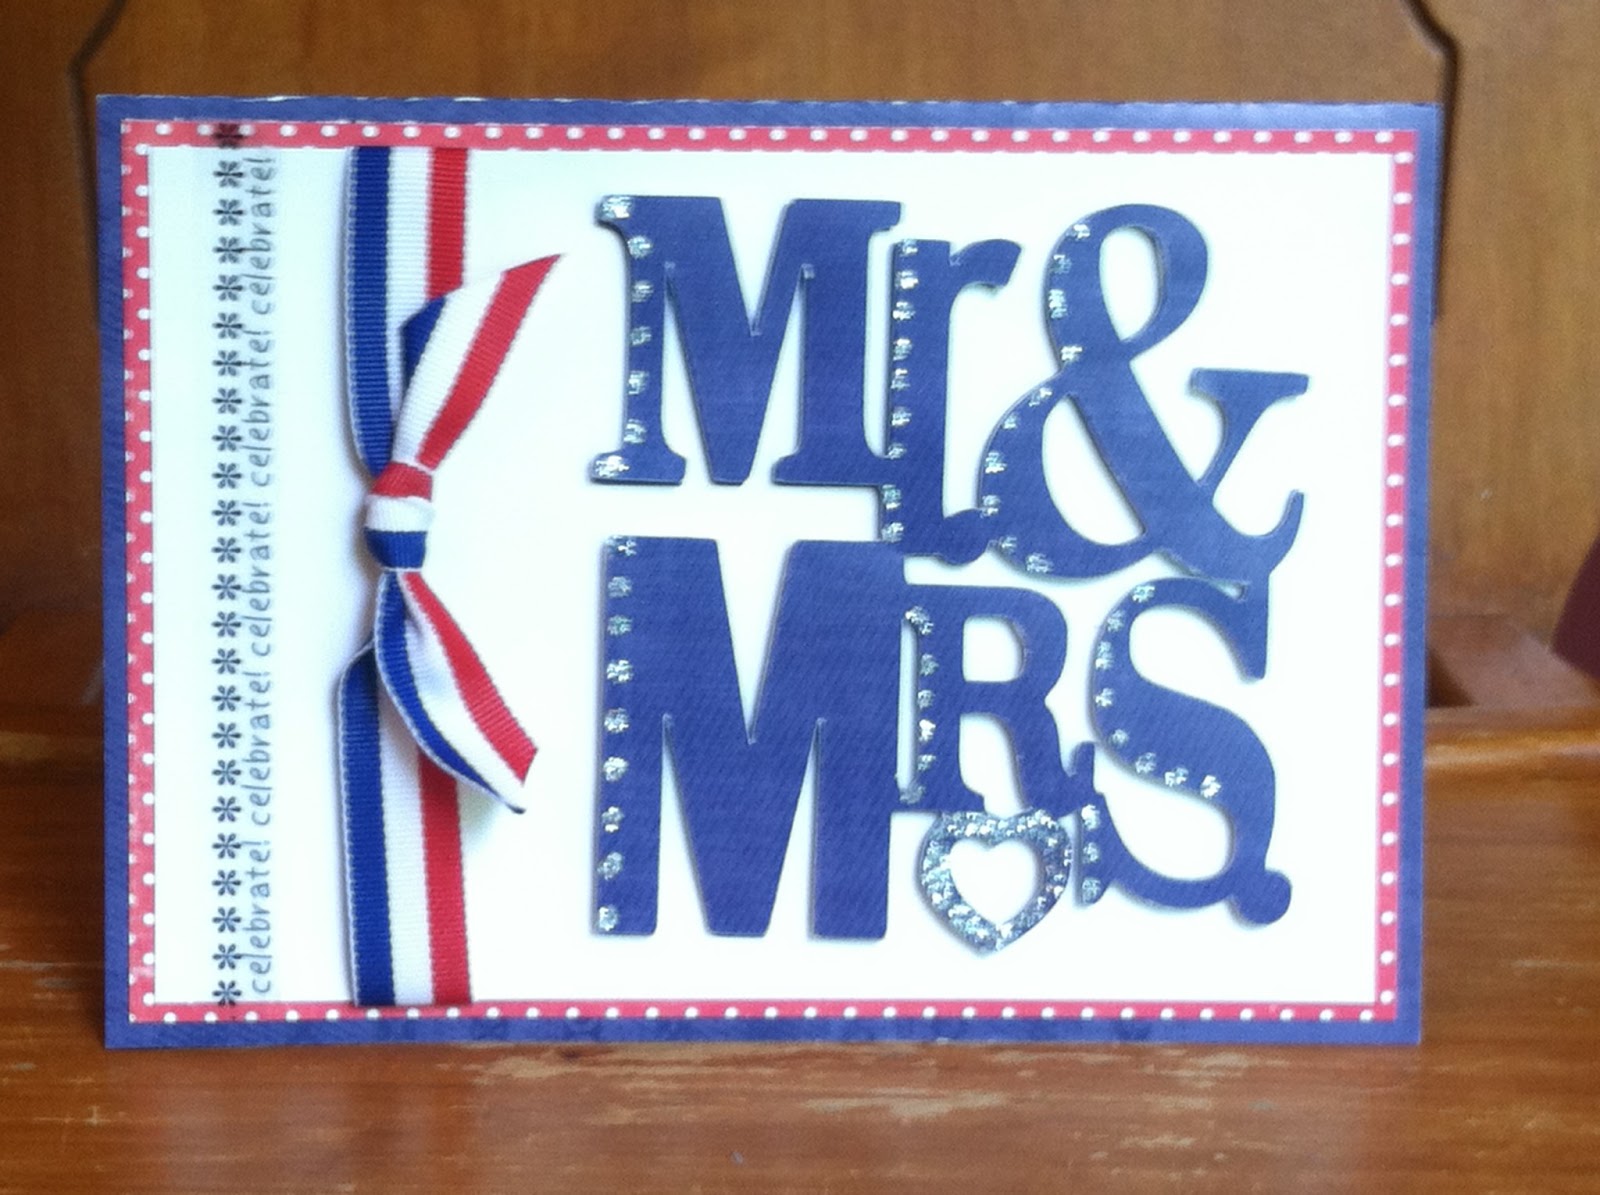
Ah...love is in the air.  I wanted to share a couple of wedding/shower themed cards I made recently.  This first is a military-wedding inspired card.  The large cut was made with my Cricut.  I embellished it with stickle dots and added a ribbon and a couple of lines from SRM clear sticker borders.


My second card was made for a bridal shower (which I sadly had to miss), but it was a fun card to make.  Again, the main image was cut with my Cricut and I used pop dots to give it depth and stickles to give it some shine and elegance.


Happy wedding season!  I hope you're able to share in making someone's day lovely with your gift of crafting.

Wednesday, June 19, 2013

Teacher Thank You Gift and Card

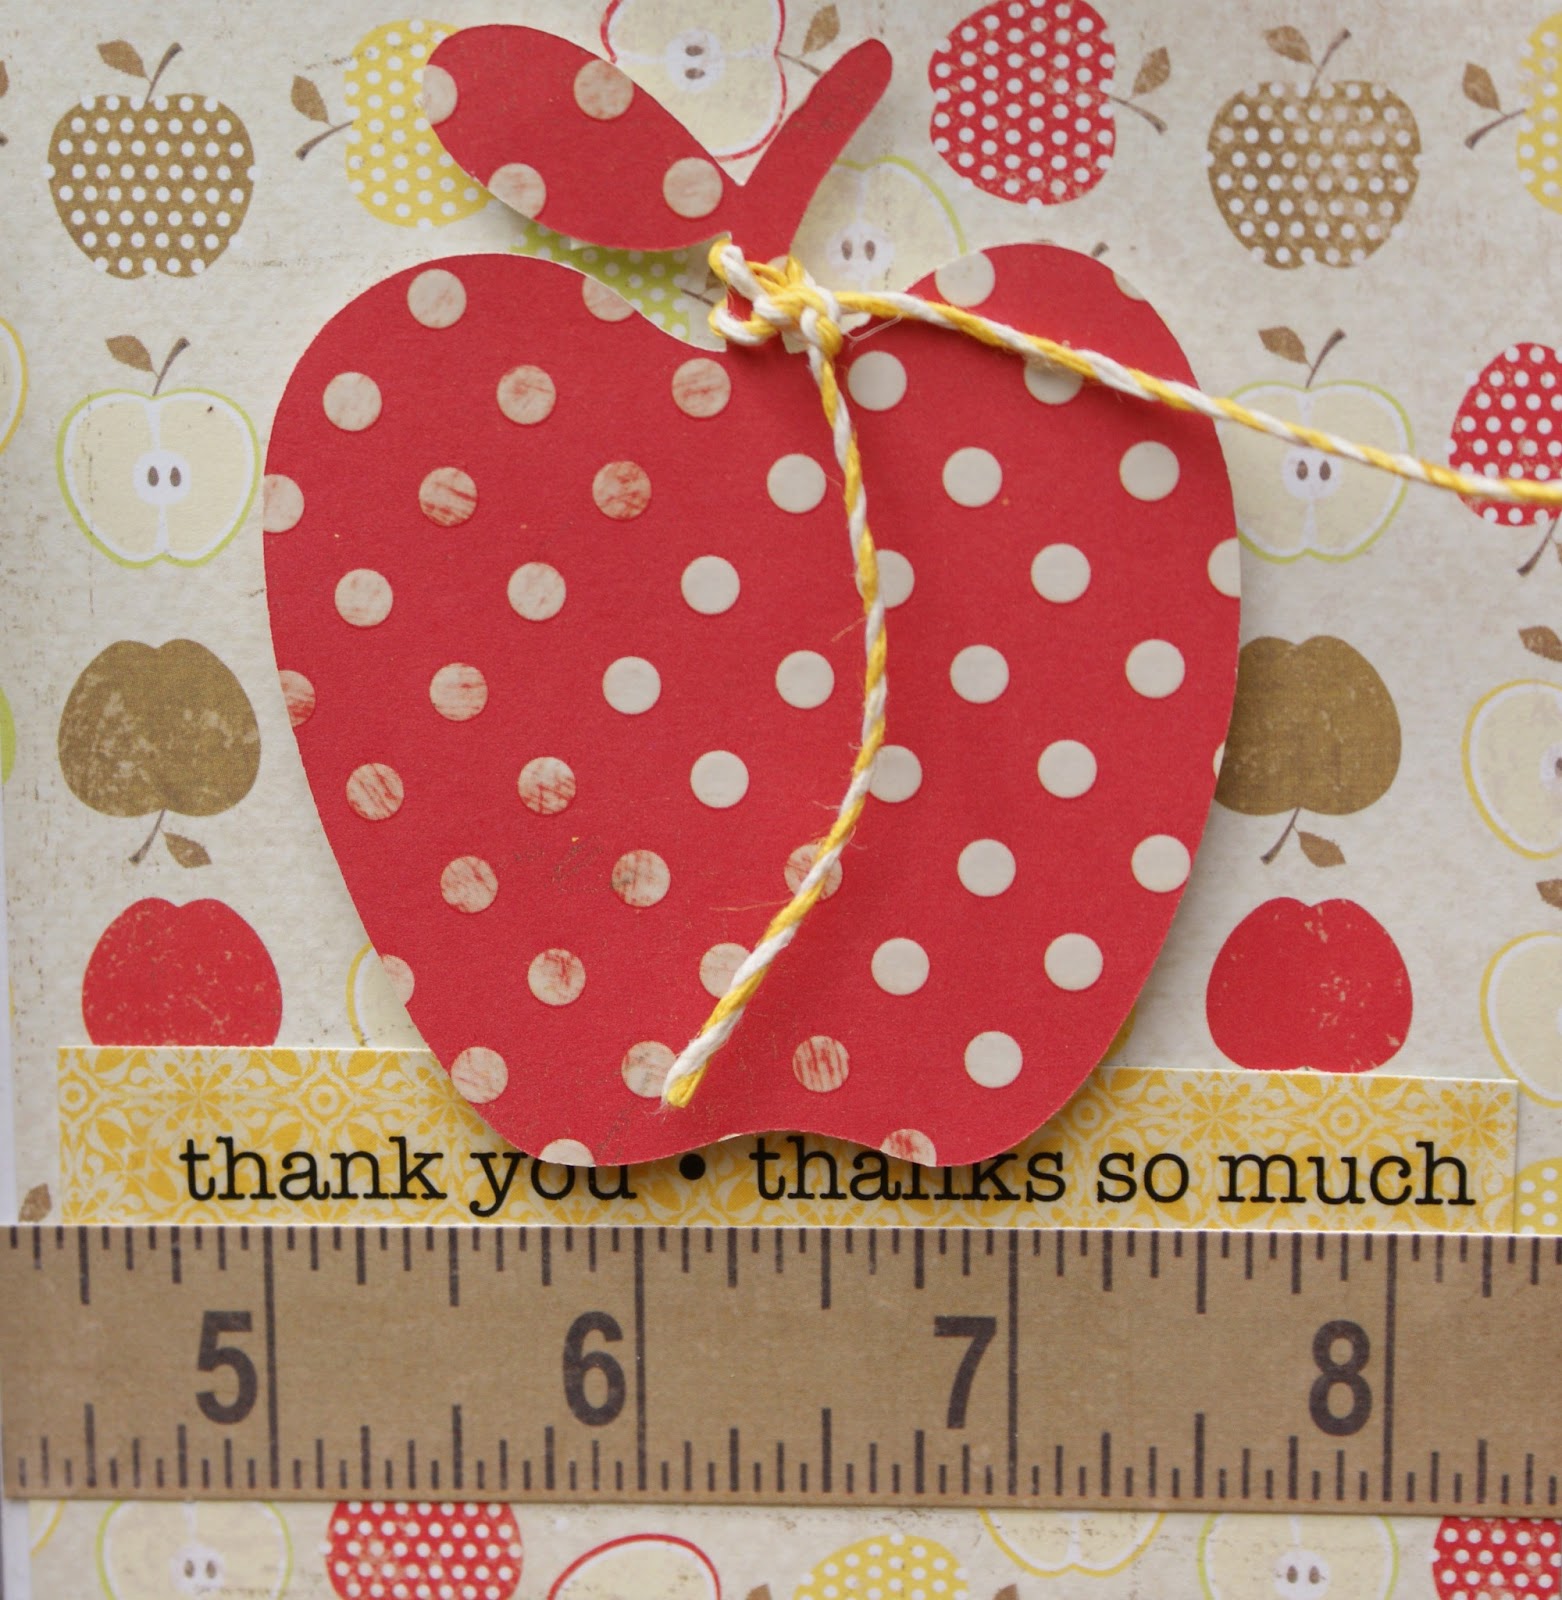
I really have been crafting...and moving...but mostly moving.  Before too much time passes, here are a few things I've worked on.  I made this little teacher gift and card while we stayed with friends between houses.  Hannah brought it to her teachers for the last day of school.


Wednesday, May 29, 2013

Scrapdoodles Design Team Wednesday

In hindsight, maybe scheduling my Design Team post for Scrapdoodles immediately after moving into a new home over the weekend (following a week of "homelessness") wasn't such a great idea...  But then again, when great papers are calling my name and inspire a great layout or two, working on top of stacked boxes isn't such a hurdle.  This week I was able to get a little crafting done despite our crazy "just moved in" life at the moment.  We R Memory Keepers' new perfect-for-summer line, "Country Livin'" inspired my first layout.  As soon as I saw the "Top Notch Beef" ad on the "Town Paper" patterned sheet, I new I would create a layout featuring my favorite young man showing his beef in last year's show and sale.  The ribbon paper was the perfect complement.  We R also makes it easy to coordinate with solid cardstock by providing their own perfectly matching selections. I love how these muted tones work together.  The line makes me think of old fashioned summer picnics, parades, and activities.  I just added a bit of twine (Lawn Fawn) and bordered my 12x12 with Washi tape.  Scrapdoodles carries lots of coordinating items including We R's layered chipboard stickers and embossed stickers and die cuts.  Easy layouts for your easy-going summer memories!
Another summery line I found at Scrapdoodles is new from Elle's Studio.  This is actually the boy line, "Cameron," but the bright colors can be used for any theme, including favorite little girls.  For this layout, I started with this great, already embellished down the side 12x12 sheet.  I used my die cut machine to cut the title directly onto the sheet and layered a couple coordinating patterned papers in the back.  I added my photo, other tags and bits from the line, a bit of ink splotches and doodling, and some brads and washi from my stash.  I love how it turned out.
Lastly for you today I put together a couple of simple cards using more pieces from these two lines.  Enjoy!  I hope you get some craft time this week.  I need to get some more boxes unpacked ;)  ~Karen


Wednesday, April 24, 2013

Invites with SRM Stickers and Echo Park

Need some cute and quick invitation ideas?  SRM Stickers has lots of fun solutions.  I picked up two sets of "We've Got Your Invite" and "We've Got Your Border" stickers from Scrapdoodles to play with and show you how easy it is to put together invitations.  Handmade invites are awesome, but making 30 or 50 or 100 is a lot of work, so it's best to keep your overall design simple.  For these baby shower invites I used the girl invite and border stickers from SRM. Begin with a couple of layers for your card base - this dresses up your invite, but it's easy to cut and layer.  (My formula = A2 base + grey/brown/black + color + white.)
For each card, I used a circle punch and a circle SRM sticker (use a pop dot to add dimension) and then added a cluster of SRM border strip pieces and a cute twine (the Twinery) bow and baby pin (from my stash).  SRM sticker sheets also include a block for filling in all your invitation information, so even the insides get handmade goodness.  I like that I can vary the main accent color (pink, yellow, green), so even though all my invites are not exactly the same, the overall design is, so it makes it easy to pull coordinating cardstock and use my supplies wisely.  For party favors, consider using a clear tube (several sizes to choose from) and applying a few cute coordinating stickers before filling it with candies.  For my tube, I also added a mini twine pom pom and a twine string with thank you banner on the lid.  I think it's super cute! And it was super easy!

The invitation stickers can also be used on a coordinating layout to commemorate the shower once it's over. If you're making the invites, you could complete the layout ahead of time and give it to the guest of honor to add photos to.  This layout uses some of the cute new paper from Echo Park's "Bundle of Joy" line.  That's also at Scrapdoodles and both the boy and girl lines are super-adorable!  I love the journaling cards that coordinate.  In this layout, I used one of the cards as the title block and the other I slipped into a glassine bag (these are so fun!), tied with more Twinery twine.

Don't have a baby shower coming up?  Here's the same idea, but with a Birthday theme!  I began with the SRM Invite and Border stickers.  This first card uses the same basic formula as the baby shower invites.  I also added a couple of pennants (the sticks are toothpicks wrapped in Washi tape!).  The large tube is topped with a big pom pom and I've added some SRM stickers and twine to it, too.
This last invite uses the glassine bag as an envelope and the SRM stickers.  Again, I love how these invite and border stickers can be used to create different looks that make invites quick and easy!  Just find some coordinating papers (mine are from Echo Park's "Happy Days" line) and you are set for an awesome, handmade party.

Tuesday, April 9, 2013

Simple Stories "Take a Hike" Collection

We finally got hit with some warm weather here, so it was easy to think about camping and being outdoors.  Scrapdoodles is getting so many awesome new lines in, it's hard to decide which to choose.  I was immediately drawn to the earthy colors and distressed look of the Simple Stories "Take a Hike" line, though. We love the outdoors, and with all the great elements in the collection, it was easy to create 2 layouts in quick time.  I think that's another reason I really am drawn to pretty much everything Simple Stories is putting out right now.  Their collections are so fun and easy to use for regular layouts, Project Life style layouts, and projects of all sorts.
This first layout used the great wood texture background and the fun dot patterned accent at the bottom.  I just started layering some patterned paper, 3x4 cards, and several sticker elements in small clusters around my page.  Everything already coordinates beautifully.  A few elements I raised with pop dots.  I also added a  couple of brads from my stash and punched out several small circles from some thin cork material.  I thought this continued the natural and rustic feel.

For my next layout, I treated some plain kraft cardstock with inks to "grunge" it up a bit.  I used a combination of spray ink (Mr. Huey's Classic Tan) and Distress Ink (Tim Holtz Walnut Stain).  To the right of my photo, I cut 4 squares from patterned paper in the collection and rounded just 2 corners of each. Then, just as in the other layout, I just started layering the paper and sticker elements in small clusters.  The bingo cards (LOVE them!) are part of most every Simple Stories collection and are so much fun to use.  
I guess I just couldn't stop layering and playing with this line, because I also made several treat boxes.  I started with a simple cardstock box and then embellished the front with bingo cards and stickers and a rustic string.  I thought I could fill them with trail mix and it would be a fun party treat, date night treat, or family outing treat.

For details on how to create the simple box, watch this video tutorial I made!

Tuesday, April 2, 2013

Scrapbooking Your Faith 2

I'm so excited to be teaching another Scrapbooking Your Faith installment over at My Creative Classroom!  This online class begins on Friday, so hurry over and register so you can be part of the fun, faith-filled scrapbooking craftiness! 


In this second installment of “Scrapbooking Your Faith” we'll explore new aspects of our faith lives and share lots of ideas on how to incorporate that into our everyday layouts. You do not need to have taken Scrapbooking Your Faith 1 to participate in this 2nd installment.
In this class, you’ll receive 4 weeks of inspiration and support as we create layouts that incorporate our faith and family values. Each week you’ll be encouraged to focus on a different “faith word” and receive multiple journaling prompts, layout focus ideas, title suggestions, and inspirational quotes that will get the ideas flowing and motivate you to create meaningful layouts. You will also have access to 8 original sketches – made just for this class – and a downloadable/printable PDF for each "faith word" that includes titles, quotes, and journaling spots to use in your layouts.

Here's a few sneak peeks to a couple layouts we'll be working on...


I would love for you to join me in class.  4 weeks of awesomeness for just $25 - and you can work in your jammies!  Even when class is officially over, you'll still have access to all class materials through My Creative Classroom.  AND MCC has extended their FREE class program until April 15th - that means if you register for my class, you earn a free seat at another class (see all the details here).  More awesomeness!