I recently visited a friend who "unloaded" a bag full of old sewing patterns. I was happy to accept them and she was happy to get rid of them. I love the idea of mixing in the pattern papers with other items and couldn't wait to find a fun use for them. I am currently in a "use what I have" mode and luckily remembered some older Cosmo Cricket papers with a sewing theme. (It's called Material Girl in case you're wondering.)
Sew, (ba-dump-bump) after I returned home with my bag of sewing patterns, I found my papers and got to work making these 3 quick cards. (How do you like the sewing machine??? This gem was my mom's.)
All the cards started with a kraft cardstock base and I used mainly the Cosmo Cricket collection I dug out. I had kept the collection together and it included some chipboard stickers and fun borders and other paper elements. For this first card I also used some Tiny Type letter stickers and a short piece of thread that I wound around the chipboard spool. I love the piece of sewing paper against that gorgeous green vintage-inspired scrapbook paper. The tape measure bit is also paper (which I crinkled up and inked).
For my next card I created a flower like embellishment with a chipboard button and a small piece of sewing pattern paper. A few more additional paper and chipboard pieces, SRM sticker border stitches and a stamped sentiment finished it off.
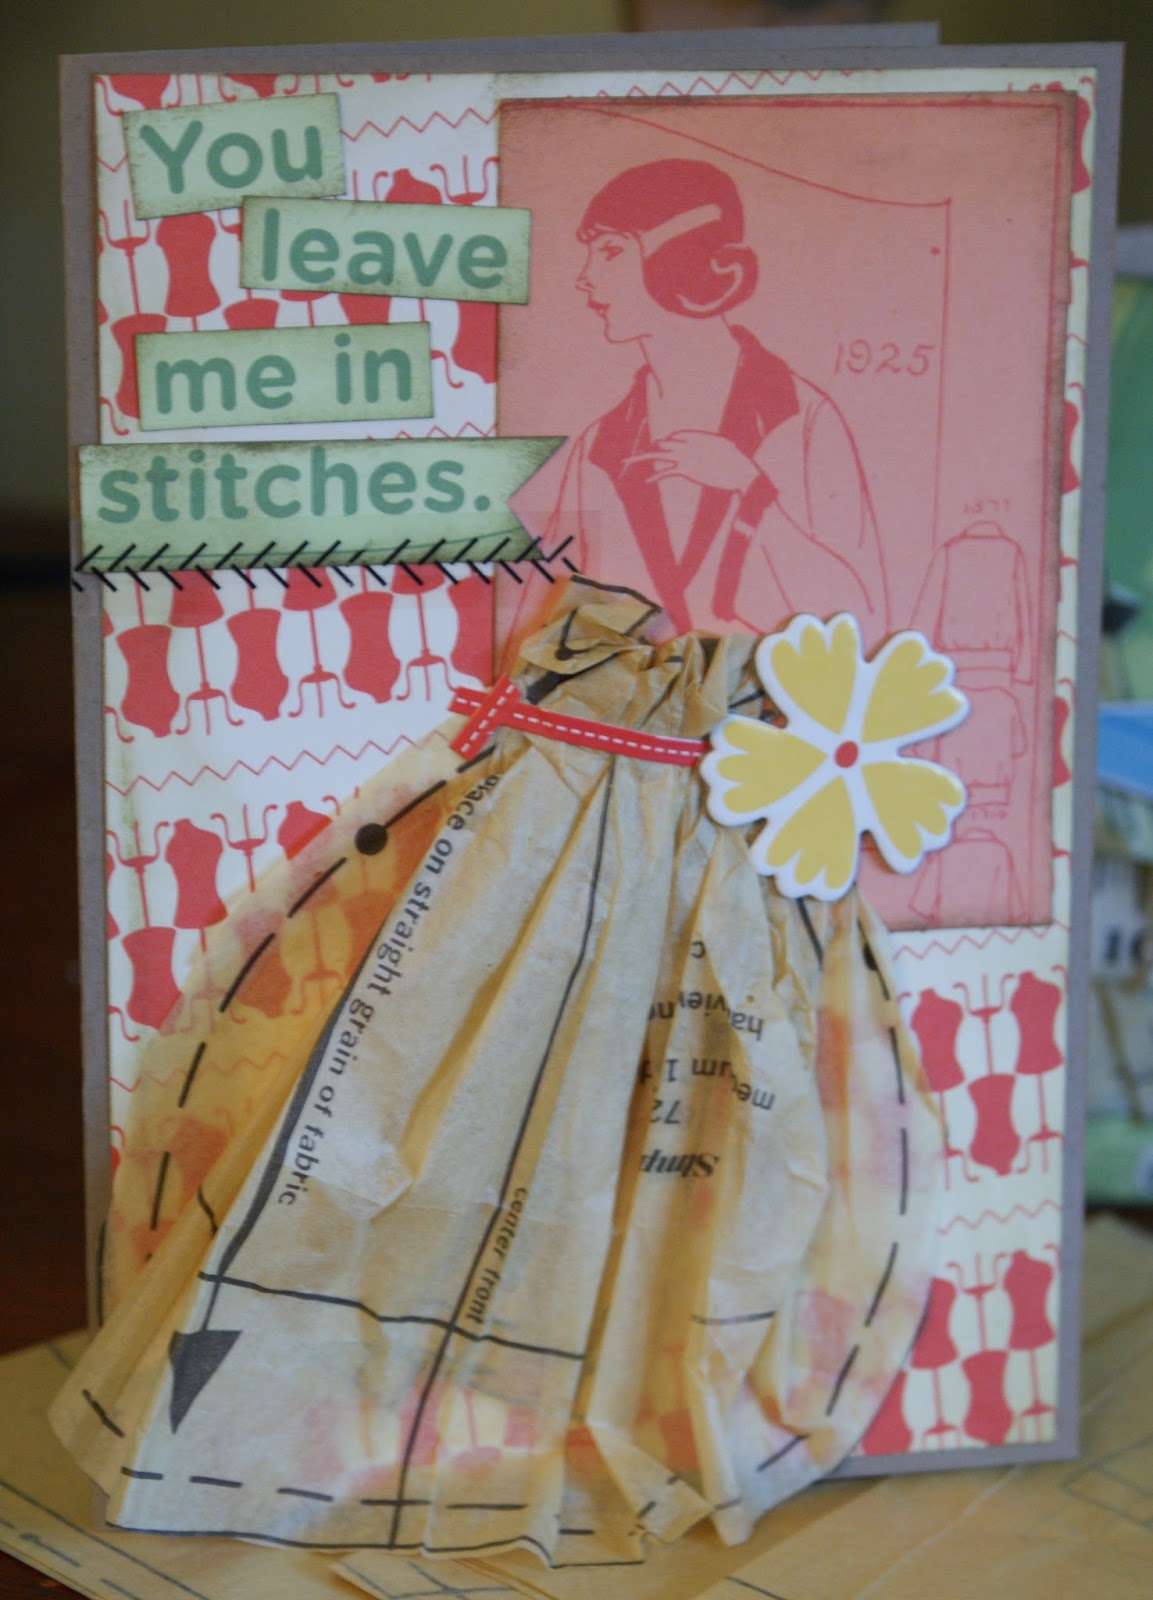
My last card is a 5x7 size and this time I made a skirt for the patterned paper lady by gathering a larger piece of sewing pattern tissue. With a little "belt" of sticker border and chipboard flower, she's all ready to go out. The sentiment is from the CC paper and I added a bit of SRM sticker border stitches.
I have quite the stash of patterns to play with now, so I'll need to think of some more ways to use it up. I may make some fun tissue flowers next. Fun, fun, fun!

 I love how it turned out! These photos are from a fun day at the zoo in WI last summer. Hannah's Auntie Dee treated her to a ride on a camel and I couldn't resist the title "hump day" especially with the crazy "Guess what day it is?" commercials these days. I used the Modern Meadow stack - such pretty yellows and rusts paired with that greyish blue in this stack. And the glossy background paper - so pretty! All of the papers are from this stack (except for a bit of brown cardstock). I cut most of the die cut elements and title from my new Cricut Artbooking cartridge (quickly becoming a favorite cartridge, by the way!). I added a bit of inking to separate the patterns a bit more and also threw on a few sequins and confetti dots. As you can see I changed a few things about the sketch, but kept the overall design of two columns in tact.