Thursday, June 23, 2011

DCWV Stack-a-holic Template Challenge

Love my stacks from DCWV!  The DCWV blog hosts a monthly stack-a-holic template challenge - see the original sketch here.  I used my Black Currant stack to create this layout featuring my cute girl (of course) in her Christmas dress.  I really loved this dress - so shimmery and purple with those snowy winter puffs - and H. looked adorable in it.  She loved it, too! 

Even thought the stack is not a Christmas-themed stack, I think the papers really complement the photos - being all shimmery and purple!  I like the contrasting bold and soft patterns and the grey and black paired with the purple.  I hand cut the larger and smaller flowers from the sheets, as well as the triangles for the banners.  The title is a layered image from the Christmas Cricut cartridge.

Tuesday, June 21, 2011

Old Hunters, Sleeping Babies, and a Bit of Baby Love

I've got 3 very different projects to share with you today - 2 layouts and a quick door hanger.  The first layout is made with American Crafts new "Campy Trails" line.  These papers are CUTE!  The colors are wonderful and the patterns are so much fun.  I really like the wood grain and the cute critters.  We do not camp often, but these papers are great for all kinds of activities.  My family has a long tradition of hunting.  I came across this old photo of my husband's grandfather with a really nice buck.  The "Campy Trails" papers really played on the outdoors theme.  For this layout, I actually cut one 12x12 sheet, flipped it, and sewed it back together.  I love double sided papers!  The circle pattern and dark brown is from another single sheet.  I cut the title with my Cricut (Designer's Calendar Font).  The photo "frame"  was made with a Stampin' Up corner punch.  I didn't have a round journaling block stamp, but wanted to repeat the circle shape, so I made my own using a masking technique.  First I cut a circle from a scrap of paper.  I positioned the cut-out sheet where I wanted my journaling block to go and used a rectangle stamp (SU) to stamp my journaling lines.  With this technique, it's easy to get the lines perfectly in a circle (or whatever shape you'd like).    Super easy!  I added a few of the coordinating fabric brads from AC to complete the layout.
I had one more sheet of Campy Trails double sided paper and decided to go in a completely different direction just to show you that these papers aren't just for camping and outdoors photos.  I really liked the green and blue shades and the star pattern on the blue side gave me an idea.  I had a few chipboard stars lying in my stash, so I covered two with the green and blue patterns.  I adhered them together with glue dots, punches a hole in each star tip, and inserted a wire hanger.  I covered the wire with little bits of ribbon and also used more of the fabric brads.  I cut the "Nap Time" sentiment with the Baby Steps Cricut cartridge.  It turned out pretty cute - a nice little something to hang on the door of baby's room so everyone knows when the baby is sleeping.   
The last layout I'm sharing with you was made with papers from Cosmo Cricket.  I actually cut apart the colored circles from one sheet of patterned paper to create a grid on the base layer.  Before adhering all my pieces, I used distressing ink and a make-up sponge, as well as a grid-type rolly stamp for more distressing.  Some of the pieces are from a bunch of older CC pieces I had in a box and some are from the newer "Odds and Ends" line.  I love these sweet pics of my daughter and her baby dolls.  If you want to see these layouts and project in person, stop by the store where I got my papers: Scrapdoodles.  While you're there, check out the American Crafts and Cosmo Cricket lines - they will make you say, "Yummy!"

Friday, June 17, 2011

Bridal Shower Topiary


Just wanted to quickly share a few photos of these beautiful topiaries my sisters and I put together for our soon-to-be sister-in-law's bridal shower.  I used the Cricut to cut 3 different flowers to layer together.  We used whatever blue paper my sister had on hand and then attached each 3-layered flower onto a styrofoam ball with a pearled stick pin.  Each topiary has about 50 flowers.  We painted inexpensive clay pots and filled each with spray foam (worked great!).  We painted a dowel rod for the stem, tied some ribbon around the base, and added moss to cover the foam in the pot.  I think they turned our beautifully and added a wonderfully elegant touch to the tables.  We had some leftover flowers so we used them and a bit of tulle as napkin/utensil wraps. 
It's so much fun to craft with family!  While the cricut hummed, we talked and laughed and told old stories.  We reminisced about our parents and our childhood and talked about the events of our current lives.  I loved every minute of it.  It was over too soon and Hannah and I had to leave to come back home to Virginia.  Now it's back to phone time, Skype, and Facebook (thank goodness for technology!)  Soon we'll be adding another sister in our circle.  She says she's not crafty, but she can drink wine and tell us what a good job we're doing.  TeeHee!

and
So many fun and inspiring ideas at these weekly link-ups!

Tuesday, June 14, 2011

Happy Flag Day Limerick Contest.

Who doesn't love a good limerick?  Oh My Crafts Blog is hosting a limerick contest in honor of Old Glory.  Pop on by with your entry!  Here's mine:

There once was a flag that flew
Proudly flapping its red, white, and blue.
And in its shadow you see
Older men drop to their knees
Recalling their proud moments too.

At right is a photo of last year's July project - mostly made with A Child's Year and Stars and Stripes cartridges.


Friday, June 10, 2011

Baby Boy Shower Details

 
We (my family and I) had a great time putting on a shower for our niece Kayla.  I turned out so cute and I am delighted to share the details with you today.  Kayla knows she's having a boy and chose shades of blue with a sailboat motif for her baby's room.  We just took that idea to create the invites and decorate for the shower.  I used the sailboat from the New Arrival cartridge, but added a couple of "brackets" to the sails to keep them attached to the mast with my Gypsy.  This made cutting out tons and adhering them much easier, as they were then in 1 piece instead of 3!
After the invites went out I made a design for party favors.  We wrapped up Hershey bars with a cute little baby (New Arrival).  I stamped the sentiment and used a black pen for the faux stitching.
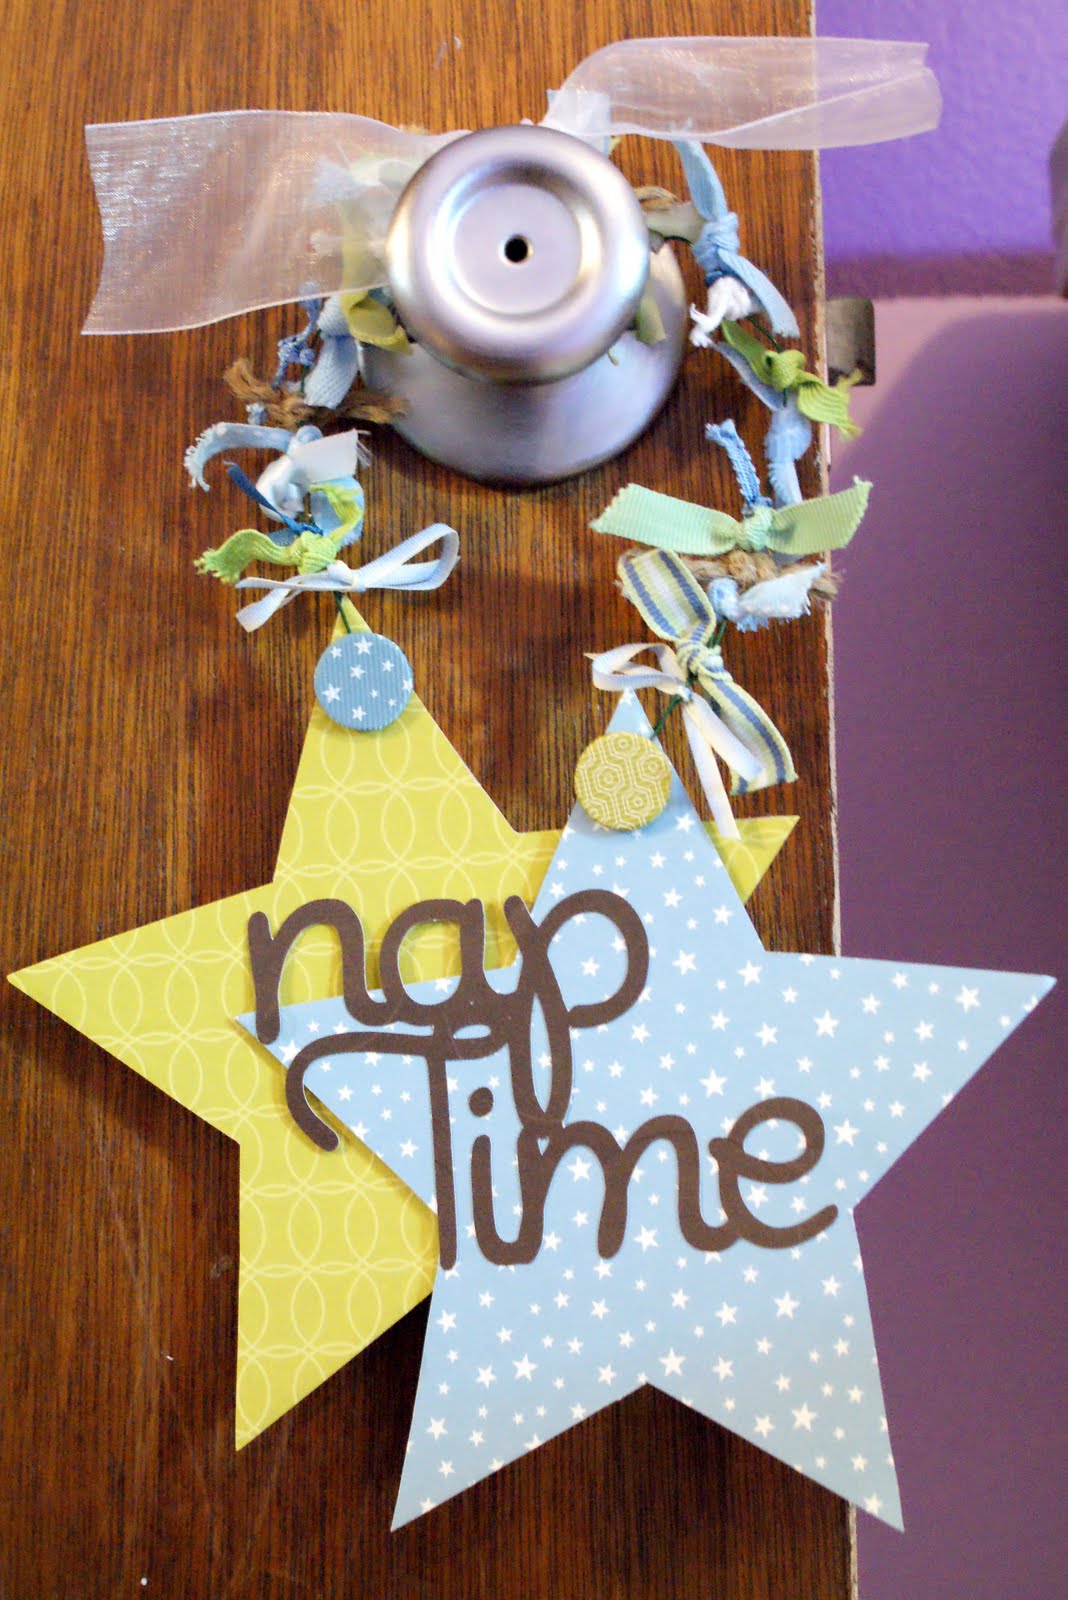
Some time ago I picked up several packages of chipboard star albums in the clearance aisle of M's.  They came in very handy for making the banner that hung above the food table.  I attached the letters to the star shapes with foam, so it's a bit dimensional.
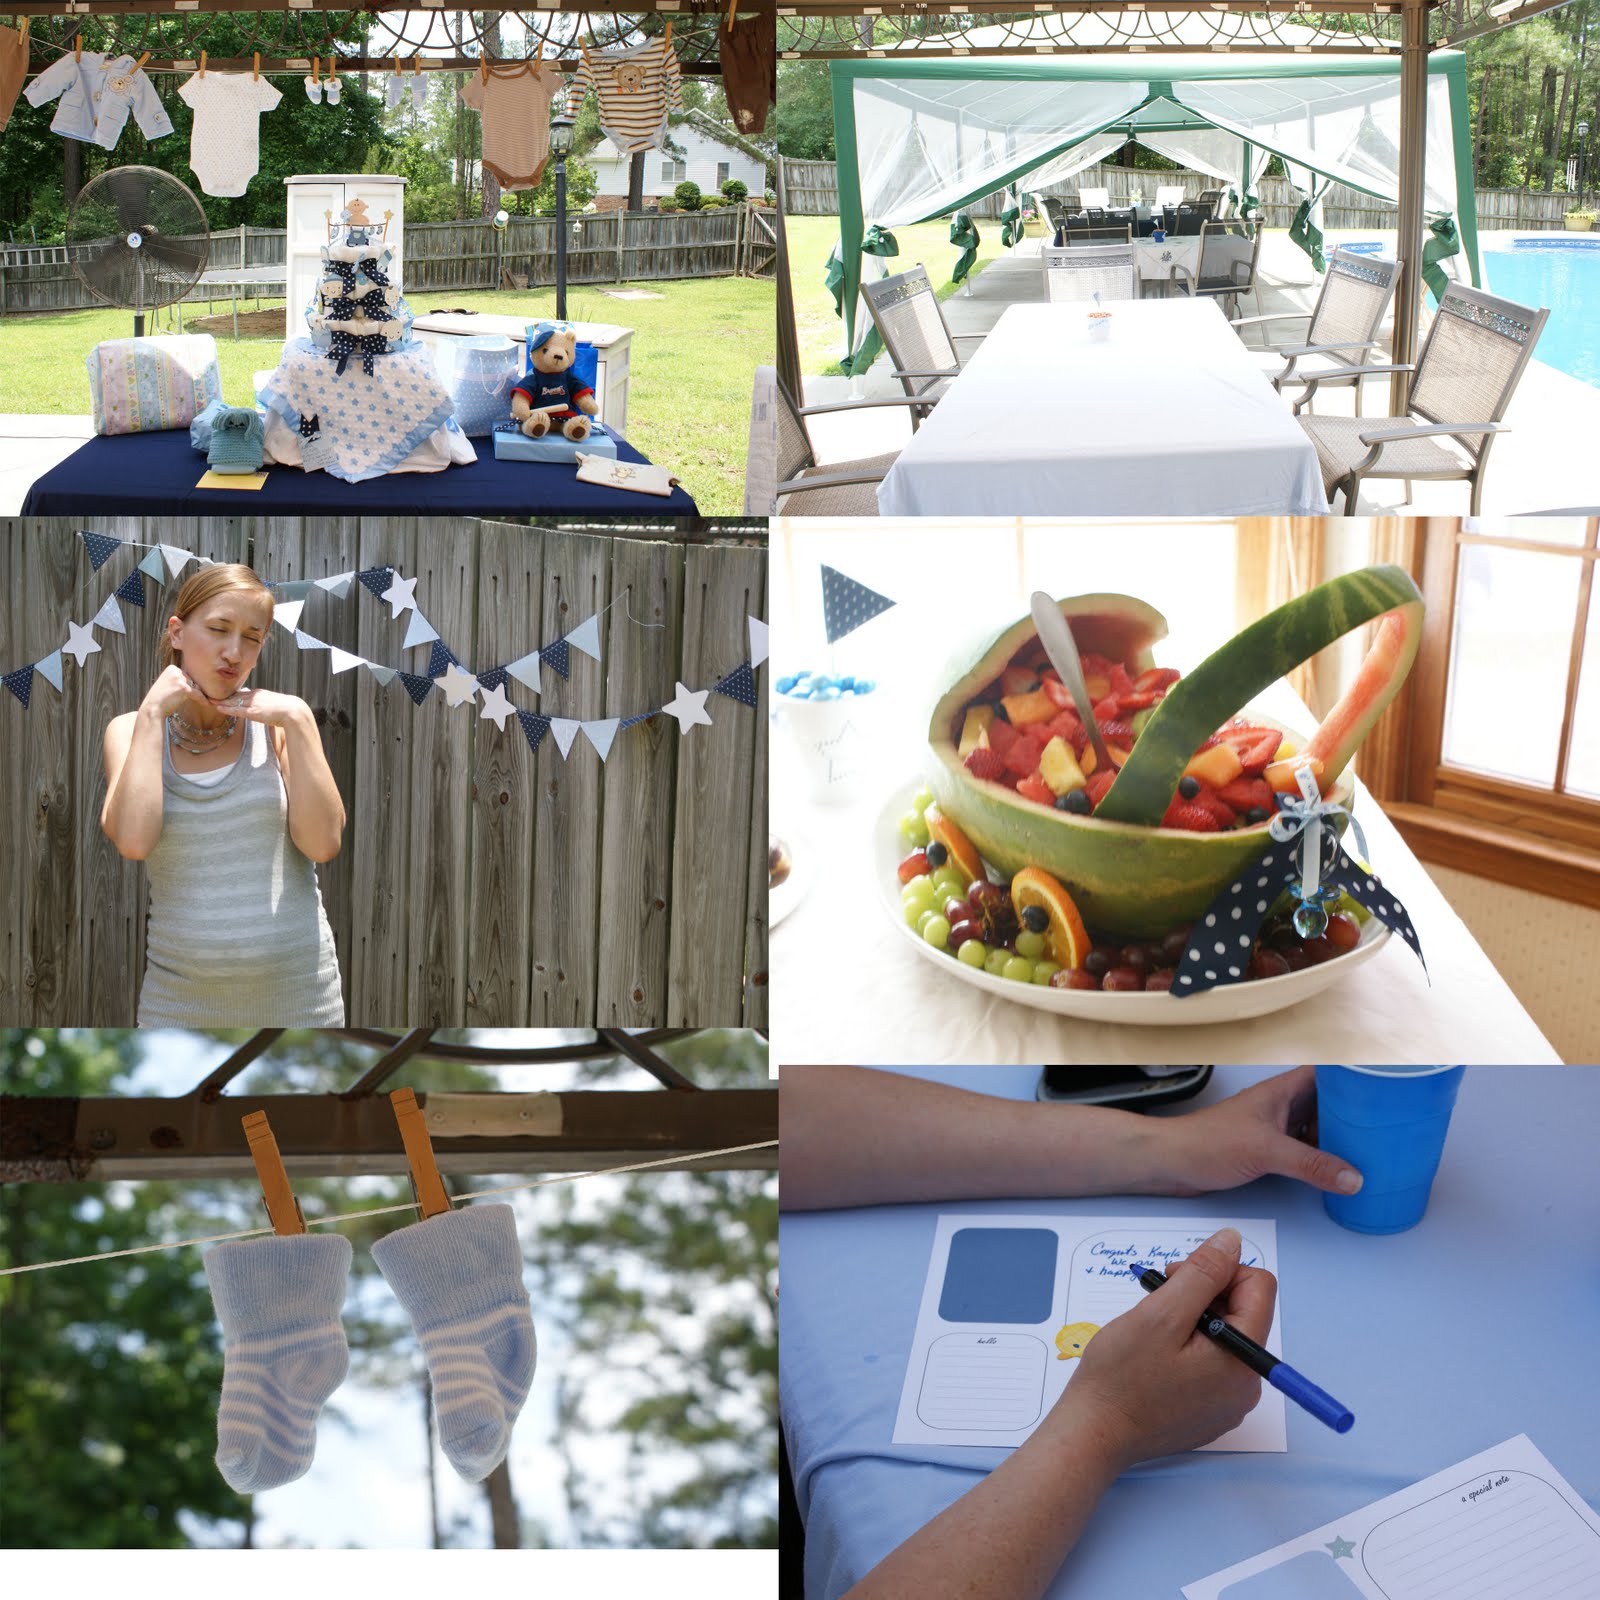
The morning of the shower was so hot (South Carolina!).  We held the shower in my sister's backyard, near her pool, under tents.  We had a gigantic fan on one end that kept us relatively cool.  At one end we set up the gift table with our diaper cake in the center under a clothesline of baby clothes.  I love this idea because the clothesline is so adorable and easy - and it's part of the mom's gifts, too!  I had precut all the pieces for the diaper cake beforehand and my niece Angie helped me assemble it while the rest of the family went shopping for all the great menu ingredients.  We were quite proud to show off the finished product when they returned.
Another decor item I made that I really liked was the strings of pennant or circus flags.  This was really easy!  I hand cut triangles from my scraps of blue paper and then just sewed them together on my sewing machine.  We put these in various places, including the fence next to the gate where guests entered into the backyard shower.  Each guest had her photo taken here and these photos were later added to an album page.  I pre-made these pages also for Kayla's baby shower album.  I designed the page with two journaling boxes on my computer and then printed them at home.  I added the mat for the guest's photo and provided lots of cute paper cuts (Thank you, Cricut!) and adhesive for each guest to decorate their page and write a special note to Kayla and baby. 
Some of the other decor items: we covered water bottles with blue paper and a sailboat; paper sailboats on tooth picks scattered amongst the mini snacks and desserts; an awesome sailboat cake (my sister Kathy made it!); and don't forget to check out the baby carriage watermelon (also by Kathy!).

I had such a great time designing the decorations and an even better time with my sisters and nieces setting up for the party and during the party sharing joy with Kayla as we all anticipate the arrival of her baby boy!
all crafts Handmade Projects ~ Add Yours! Fantabulous Friday!