 |
| Birdies and Kitties for the girls. |
 |
| Fire house Puppies for the boys. |

|
| Birdies and Kitties for the girls. |
|
| Fire house Puppies for the boys. |
 First up: "Me & You." Even thought this photo of my husband and me is out of focus, I love the candid nature of it and that we are both smiling and looking happy. Sometimes those imperfect photos make great layouts! This one uses some of the new Fancy Pants "Be Loved" collection. I really was drawn to the water color feel and soft palette. So many little elements are available with this collection, too. I altered my background sheet by drawing a large heart, sewing the outline with pink American Crafts twine, and then adding some paint and pink chalk to the inside. I also added twine in other places - the tags and several cross stitches on the left side. The "me & you" sentiment was cut with my Cricut - Graphically Speaking is an old cartridge, but still one of my faves. The pink glitter border strip is from Teresa Collins.


 Hannah wanted a pink shirt with a heart to wear for Valentine's Day. What's a crafty mama to do? Make one of course! I found a shirt in her drawer to use (cuz I'm


 Hannah and I had a bit of fun with watercolors and coffee filters this week. We painted several large filters, let them dry and then hand cut out heart shapes from them. We cut out some big ones and she stuck them up on a window - they are so pretty with the light coming through. I also cut several small hearts which I then made into cards for her to send to grandmas and grandpas for Valentine's Day.
  For the cards, I used a plain white cardstock base and sewed the hearts onto the card with a diagonal stitch in black. I then used a black pen to doodle on an arrow point and fletching. The thread is secured by applying some Glossy Accents to the ends. I used various love stamps and a little pink ink below the heart for a sentiment. It was a fun and easy project to do. Hannah loved the painting part and I had fun turning her art into a card to send to family.


 Just thought I would share a few Valentine's Day projects we've been cooking up here at home.
 I punched some circles out of cardstock and adhered them to the plastic circle handle, then Hannah added the glittery heart foam sticker. I made a tag saying "You Blow Me Away" and Hannah added another foam sticker (okay she added one or two and then was "done" so mama had to finish the rest). I tied them onto the bubble wand and "tada" ... very cute and inexpensive Valentines.

 We also had fun making these "toilet paper roll heart stamps" we saw on Pinterest. I just shaped the roll for Hannah and squeezed out some paint and she went to town!
  When the stamped images were dry, I cut up some of the paper and adhered it to a pink cardbase. We added some more foam stickers and "tada" ... more cute and easy Valentines. Hannah signed her "H" and we put some in mailbox.
  Do you make New Year's Resolutions? I like to think about the year past and set some goals, so I guess I do make resolutions. This year I decided to create a layout to reflect some of these goals of mine. I picked up some fun American Crafts products for this layout. I normally scrap very girly pages so it was a nice change of pace to pick up some selections from AC's CHAP line. I came home with three sheets of double sided papers and a pack of chipboard shapes. I used my Cricut (Jubilee font and Printing Press numbers) for this page and journaled the rest in pen. The "2012" in the letter "O" is cut from a calendar. I'm thinking I'm going to hang this layout so I can be reminded of my New Year's thoughts and goals.
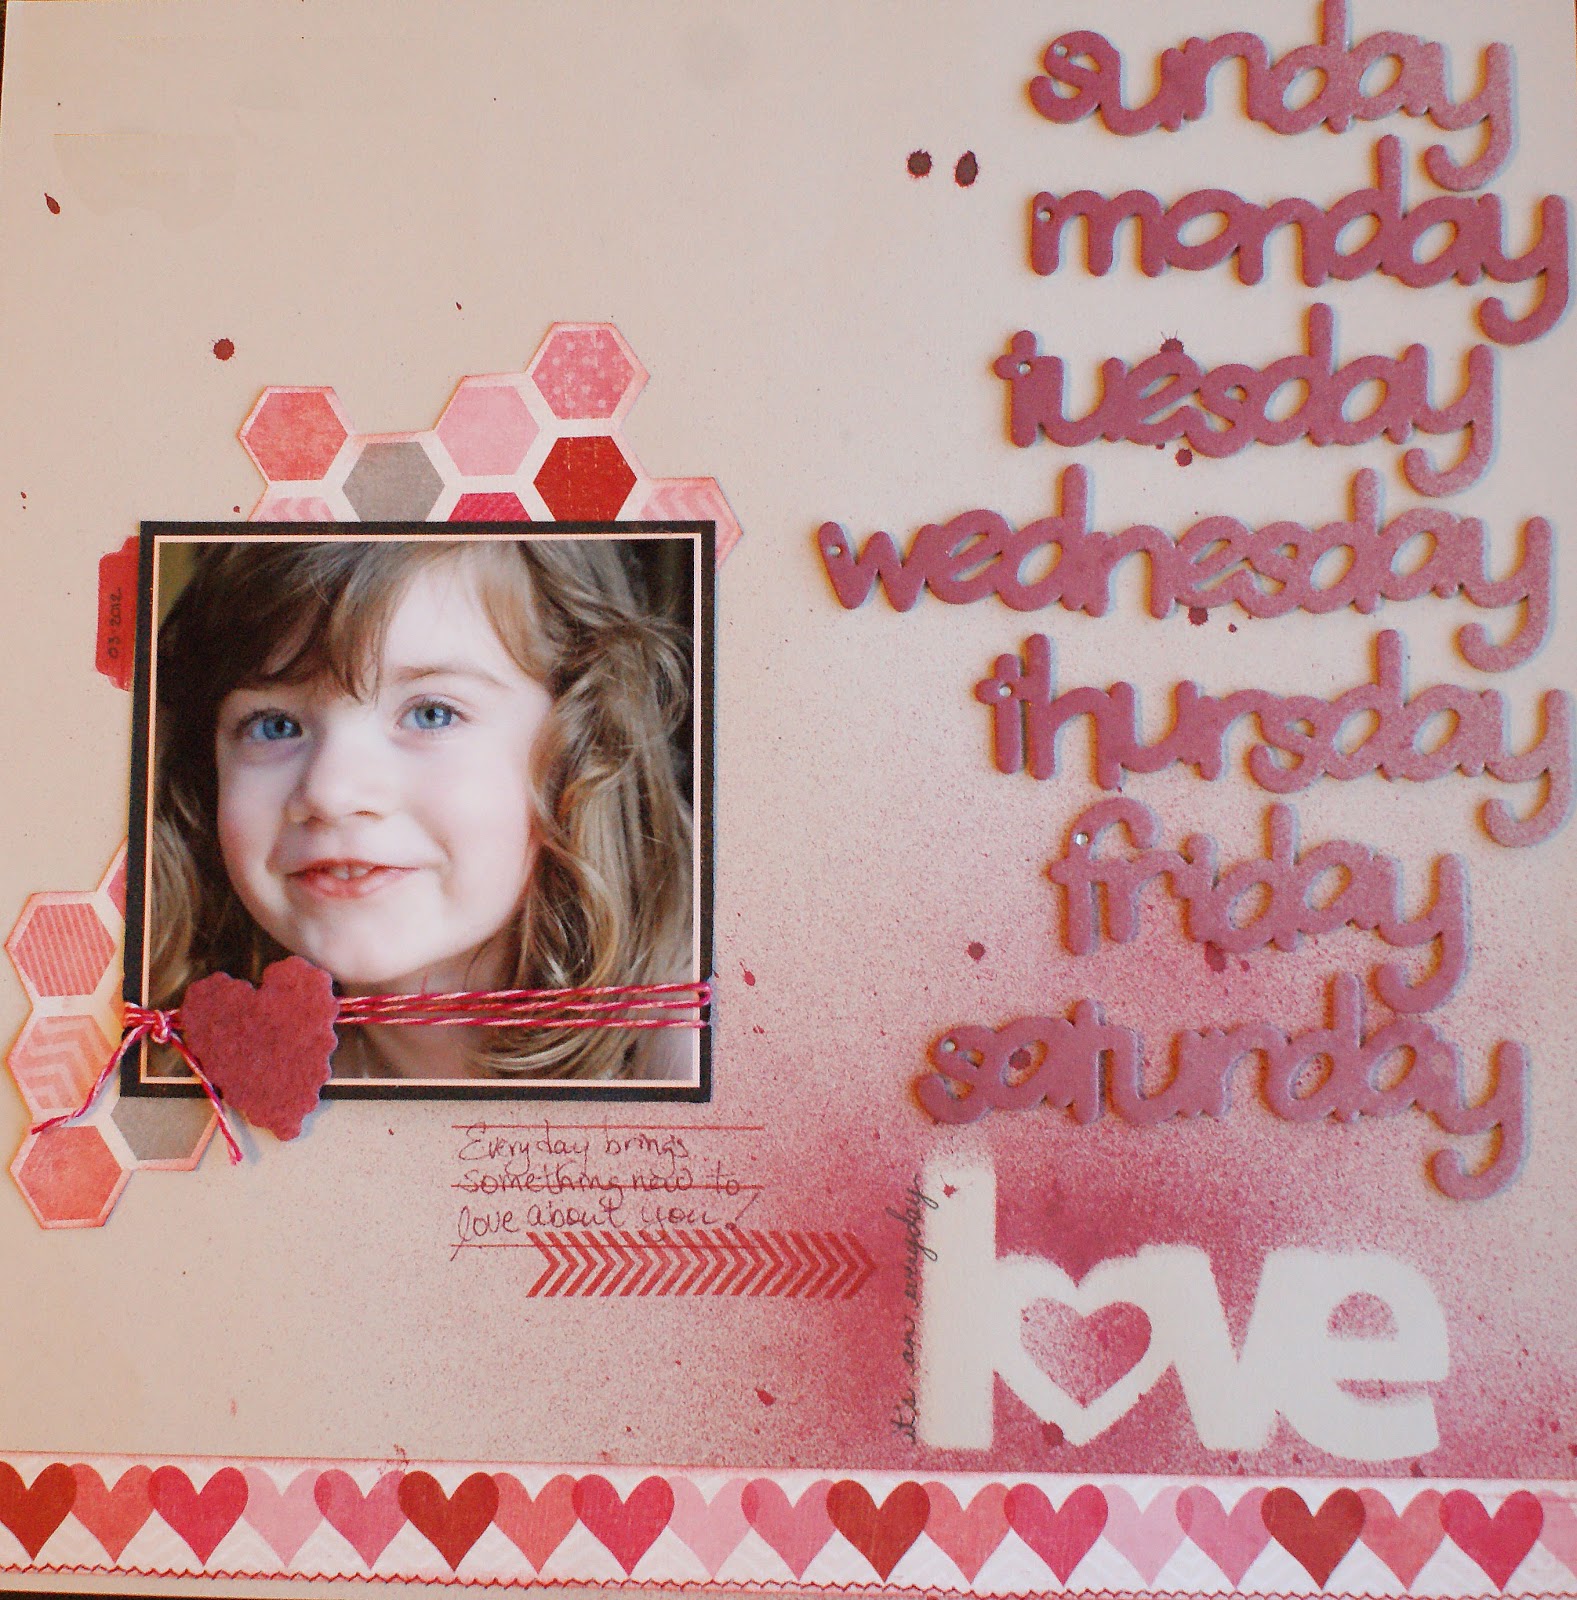
 While I was at my favorite scrapbook store - Scrapdoodles in Fredericksburg - I was "lovestruck" by the wonderfully sweet selection of Valentine's Day papers and embellishments. The neat thing about a lot of these papers is that they can be used in all sorts of layouts. I could see many of these sweet sentiments in baby layouts, anniversaries, wedding, and in my layout here - just a fun shot of my daughter on the eve of her 3rd birthday. For this layout I used 2 patterned papers from We R Memory Keepers "Love Struck" collection. Also from this collection you can see one of the super adorable bottlecap embellishments (I think I may have to make a hair bow for Hannah with one of these) and two of the tags or mini cards. I am also using some cute ribbon from Pebbles.

