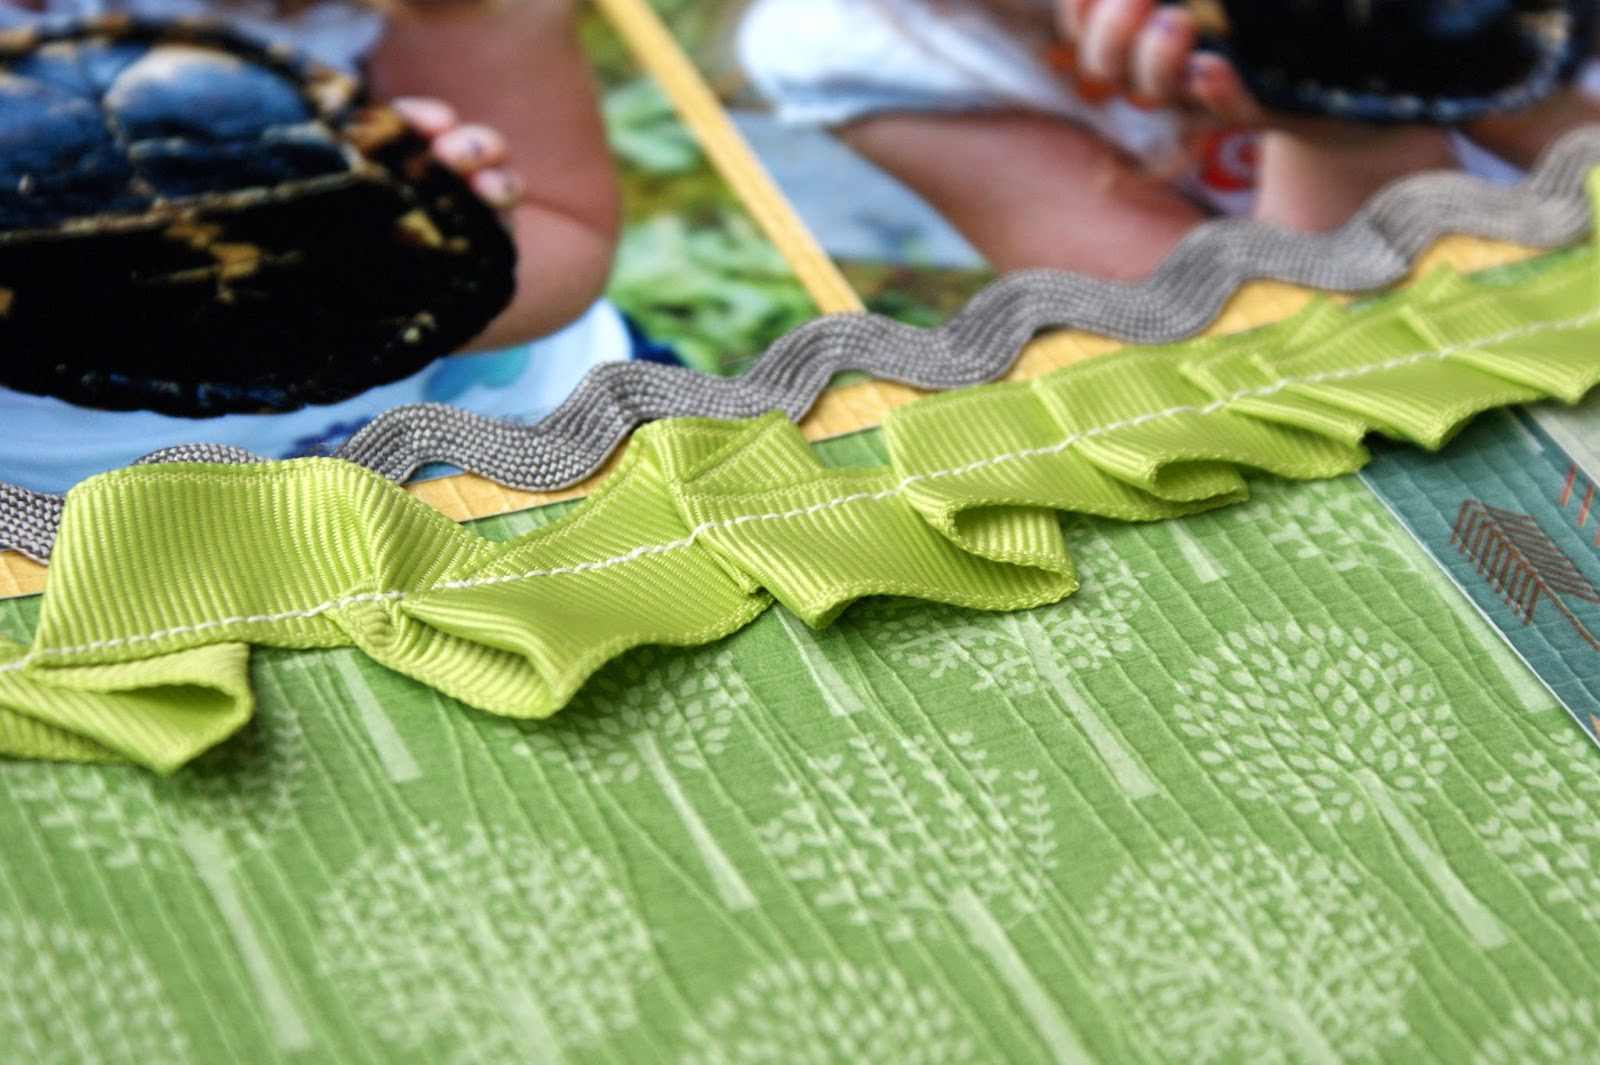
I just finished a cute layout based on DCWV's August Stack-a-holic Sketch challenge. You can see the sketch HERE on their blog. I love their stacks and just found a couple new ones on sale. This layout is created with the new Green Stack. The texture of the paper in this stack is so unique. It has woven fibers, but is still easy to cut with regular scissors and trimmer. These two photos of my daughter and her little turtle friend (poor thing was tucked deeply into his shell) are complemented perfectly with the fresh green patterns and nature motifs.
I sewed the green ribbon directly onto the paper with my sewing machine. I haphazardly scrunched it under the needle as I went. I really love the fun and frilly look.
You can really see the woven fibers of the papers in these two closeups. The blue paper with the arrow patterns is really fun, too. I can't wait to use more of this stack.
Wednesday, August 28, 2013
Monday, August 26, 2013
Altered Notebook with Cricut Artbooking Cartridge
I caved and bought the new Cricut Artbooking Cartridge. And I'm so glad I did. I haven't had a chance to play with it as much as I'd like, but I love all the overlays and extras on this cartridge. I also have the coordinating stamps from Close To My Heart and can't wait to add them to my layouts and projects. Here's a quick notebook re-do that I recently completed with this cartridge. All the cuts are from Artbooking. I added number stickers from a leftover Teresa Collins sheet that I had, and then tied some ribbons around the spirals. I can't wait to do more!
Thursday, August 22, 2013
Design Team Wednesday at Scrapdoodles - Fun Layouts with Bella Blvd.
Hi Everyone! It's Design Team Wednesday over at Scrapdoodles and I have some super fun layouts to share with you! Bella Blvd is moving up as one of my favorite lines with their recent releases. Check out their summer release catalog for more inspiration and then hop on into Scrapdoodles (or your favorite lss where you are) to get your hands on these fun collections! They are sure to inspire creativity.
Today, I'm sharing 3 layouts I created with the Snapshots line - I love the playful elements in this line, especially the doodling and the cameras. The little camera icons in the papers are too cute and I couldn't wait to get them home from the store to play with them. For this first layout I layered lots of elements creating a bit of a playful and colorful design. It's actually a bit on the busy side for my usual style, but I couldn't stop adding elements - too much fun! Several pieces were cut from the sheet of border strips. The doodle card was also from a full 12x12 sheet and I colored in some of the elements using my watercolor pencils. Another fun element on my layout is simply turning over one corner - see it in the upper right - and using that area for another cluster of embellishments.
Below my photo, I cut a row of cameras and then fussy cut a few of them to pop off the page using foam dots. This is another fun technique to try on your next layout.
I really like the use of black alongside the bright colors - and for my next layout I emphasized the lime green and offset it with some of those black elements.
By this time I was running out of papers- I had only picked up 4 sheets plus some die cuts and stickers (have to go back for more, oh darn), but had enough to pull this last layout together. I think the fun papers are perfect for this fun and silly photo of my husband and me.
I hope you've been inspired to check out this line and more from Bella Blvd. You won't be disappointed and I can't wait to see what you create!
Wednesday, August 21, 2013
We R Memory Keepers Guest Post ~ Fun with Storytime Collection
It's such a thrill for me to be a guest designer over at the We R Memory Keepers blog. If you are visiting me from over there - Thank You and Welcome! This trio of cards is featured on the blog today and you can find my instructions there as well to recreate your very own set with this adorable collection of papers and embellishments.
I also created a layout and door hanger with the goodies that We R so generously sent me. You can see the whole collection here. If you're local, be sure to stop in at Scrapdoodles in Fredericksburg, because I know they have this collection in stock.
When I first saw the collection, I immediately thought of library trips and reading stories with my young daughter. We love to read together and while not everything we read is a "fairytale", this paper just speaks to the special kind of imagination that is discovered only through reading books. When I started going through my photos I found these two sweet pics of our girl "reading" (she's 3 here and not yet reading on her own) Peter Rabbit to her stuffed Peter Rabbit toy. I just love the little story characters featured on the paper, and couldn't help fussy cutting around the wolf so that he could hang a paw over the storytime die cut title.
Lastly, I created a cute wall or door hanger. I started with a chipboard star covered in the orange patterned paper from the collection and one of the large die cuts attached to the back. A ribbon hanging down features some of the little storybooks cut from the paper and another die cut at the bottom. On the star I folded a strip of paper to mimic a ribbon and adhered the die cut letters. Now it's all ready to hang up whenever we need a little storytime break!
Saturday, August 17, 2013
Wedding Album Layouts
I recently completed a wedding album for my oldest sister and her new husband. I was able to bring it and give it to them in person when I returned to Wisconsin for a visit. I love watching people look through their new albums - it totally gives me the warm fuzzies! It's really something special to be able to use your gifts and bring happiness to others.
Here are a few of my favorite pages from the album. I just love this first page - such a cute photo of the couple and the gold Teresa Collins paper is magical! Throughout the album I used primarily Teresa Collins, Authentique, and DCWV papers and of course my Cricut. Enjoy!
Wednesday, July 24, 2013
Birthday and Anniversary Cards
July is a busy month for our family. We have several birthdays and anniversaries to note, so that means cards to give or send out. Here's a few of the cards I made for this month.
DCWV's Vintage Collector Stack, SRM Sticker, We R Washi, American Crafts Twine
DCWV's sunday Afternoon Stack, SRM Sticker, American Crafts Twine
DCWV's sunday Afternoon Stack, Airplane cut from Cricut B is for Boy cartridge
Lillibee Design paper, My Mind's Eye tickets, SRM stickers, American Crafts twine
DCWV Vintage Collector Stack, silhouette cut from Cricut Sweetheart Cartridge
Wednesday, July 10, 2013
Design Team: Little Yellow Bicycle's Vintage Summer Collection
Ahhh, sweet summertime! I love these days of summer and at a recent trip to Scrapdoodles, I was able to pick several pieces from the Little Yellow Bicycle "Vintage Summer" collection. The colors are perfect for your patriotic pages as well as general summertime gatherings and events. I picked up several sheets of paper, the Paper Crafting Kit, Stick Pins, and Fabric Favorites from the collection. You can see the whole thing HERE or stop by Scrapdoodles to see it in person and pick out your own treats. I brought home my goodies and created a project and 2 layouts to share with you from this line.
For my project, I started with a plain chalkboard frame that I painted with another quick coat of black chalkboard paint. Then I layered several elements from LYB's fabric embellishments collection (the banner is one) and several flowers from their Paper Crafting Kit. I love how the paper crafting kit elements were "pre-cut" but still offered lots of options in assembly and use. The stick pins offer a fun touch to this project. Two eyelets screwed into the top of the frame and a string allow it to be hung on a door or anywhere you need a little pick me up. See it in person at Scrapdoodles!
My first layout starts with a dark blue cardstock base. I cut apart some of the Patchwork Quilt paper to create my own background for this layout. The banner is made from circles folded in half (from the Papercrafting Kit). I layered some more elements from the collection next to the photo. The title is chipboard letters from my stash. Underneath it, I pleated a small strip of paper and added a brad.
For my project, I started with a plain chalkboard frame that I painted with another quick coat of black chalkboard paint. Then I layered several elements from LYB's fabric embellishments collection (the banner is one) and several flowers from their Paper Crafting Kit. I love how the paper crafting kit elements were "pre-cut" but still offered lots of options in assembly and use. The stick pins offer a fun touch to this project. Two eyelets screwed into the top of the frame and a string allow it to be hung on a door or anywhere you need a little pick me up. See it in person at Scrapdoodles!
My first layout starts with a dark blue cardstock base. I cut apart some of the Patchwork Quilt paper to create my own background for this layout. The banner is made from circles folded in half (from the Papercrafting Kit). I layered some more elements from the collection next to the photo. The title is chipboard letters from my stash. Underneath it, I pleated a small strip of paper and added a brad.
My second layout uses one of the fun full sheets from the collection. It's called "Blue Skies."
I cut off the tiniest bit of paper from the left edge and adhered a red scalloped border to the back, so just a peek of the border sticks out. This strip was actually one of the precut/scored elements in the papercrafting pack, but I thought it would be a cute border. I haphazardly added a few more tiny print squares from the Patchwork Quilt sheet and added a few more embellishments on top, included the cherries (cut from my die cut machine), a layered flower and one more of the fabric favorites.

This was such a fun collection to play with. The embellishment kits will provide you with lots of coordinating materials for your projects and layouts.
Happy Crafting! ~Karen
Subscribe to:
Posts (Atom)